
Understanding CSS Selectors - The Absolute guide to styling.
If you understand selectors you are halfway into mastering CSS already 🦸♂️


In the previous blog on Introduction to Styling, we learned bits about why is CSS used and how it is incorporated in styling HTML pages. If you are not clear with those ideas, please feel free to check that blog out, that is just a 9min read. Intorduction: The absolute guide to styling
Selectors? What and why?
Nice question, undoubtedly. Let us take an easy example so that the idea about the selector gets cleared. Imagine, you are to decorate your room because you want it to look different - what do you do? Let us say, you start off with the walls. You thought of giving the walls a different color. You are ready with a color choice for the walls. But you also need to know what object you are styling before you style that object -the walls, the center table, the bed, the bookshelf, and so on.
CSS selectors are nothing but selectors that helps us to access an element on the page and style it according to our choice. Clear now? Hopefully. If it is still not. Think of selectors as markers that mark the objects(from the example of you decorating your room) so you can access them and style them according to your choice.
Let us take examples and learn about the different selectors used for styling, which are widely used.
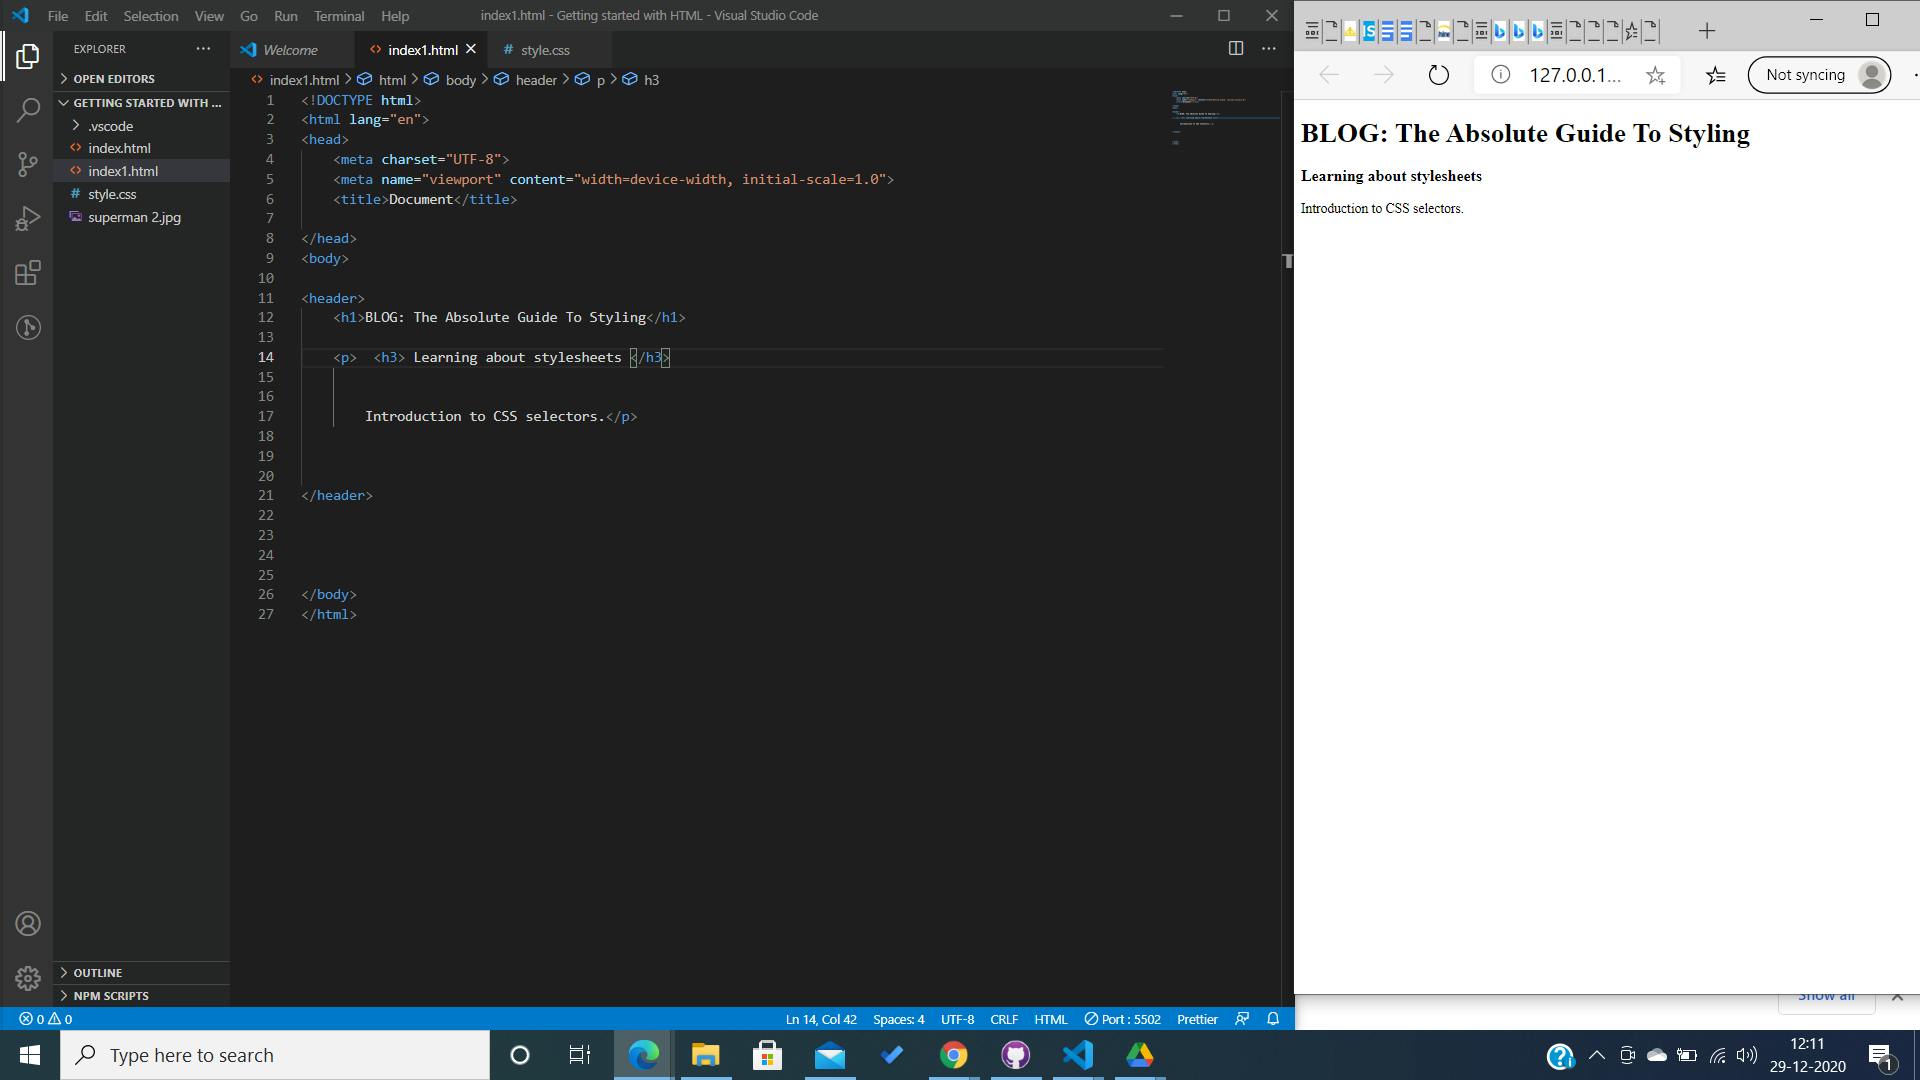
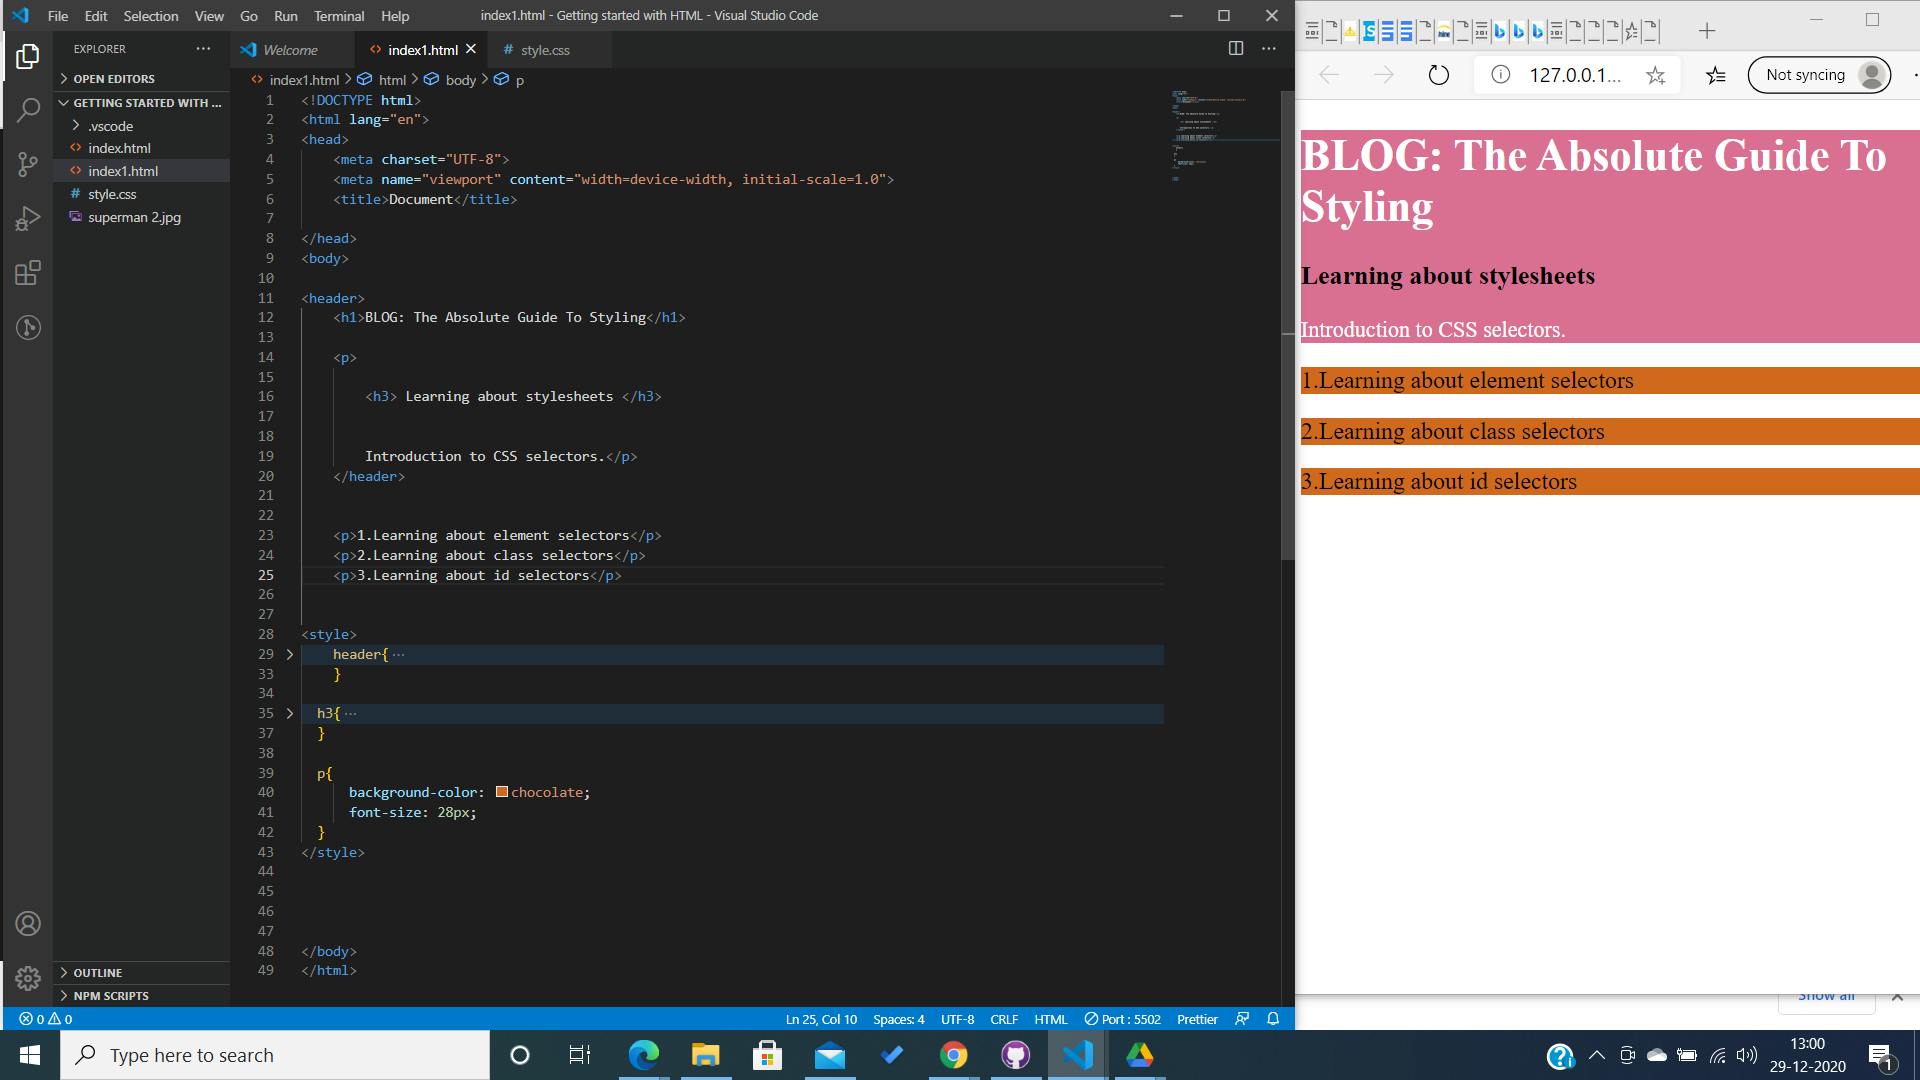
In the above picture, the HTML elements contained in the file are:
- Header element, which further contains -
- H1 element
- H3 element
- Paragraph element
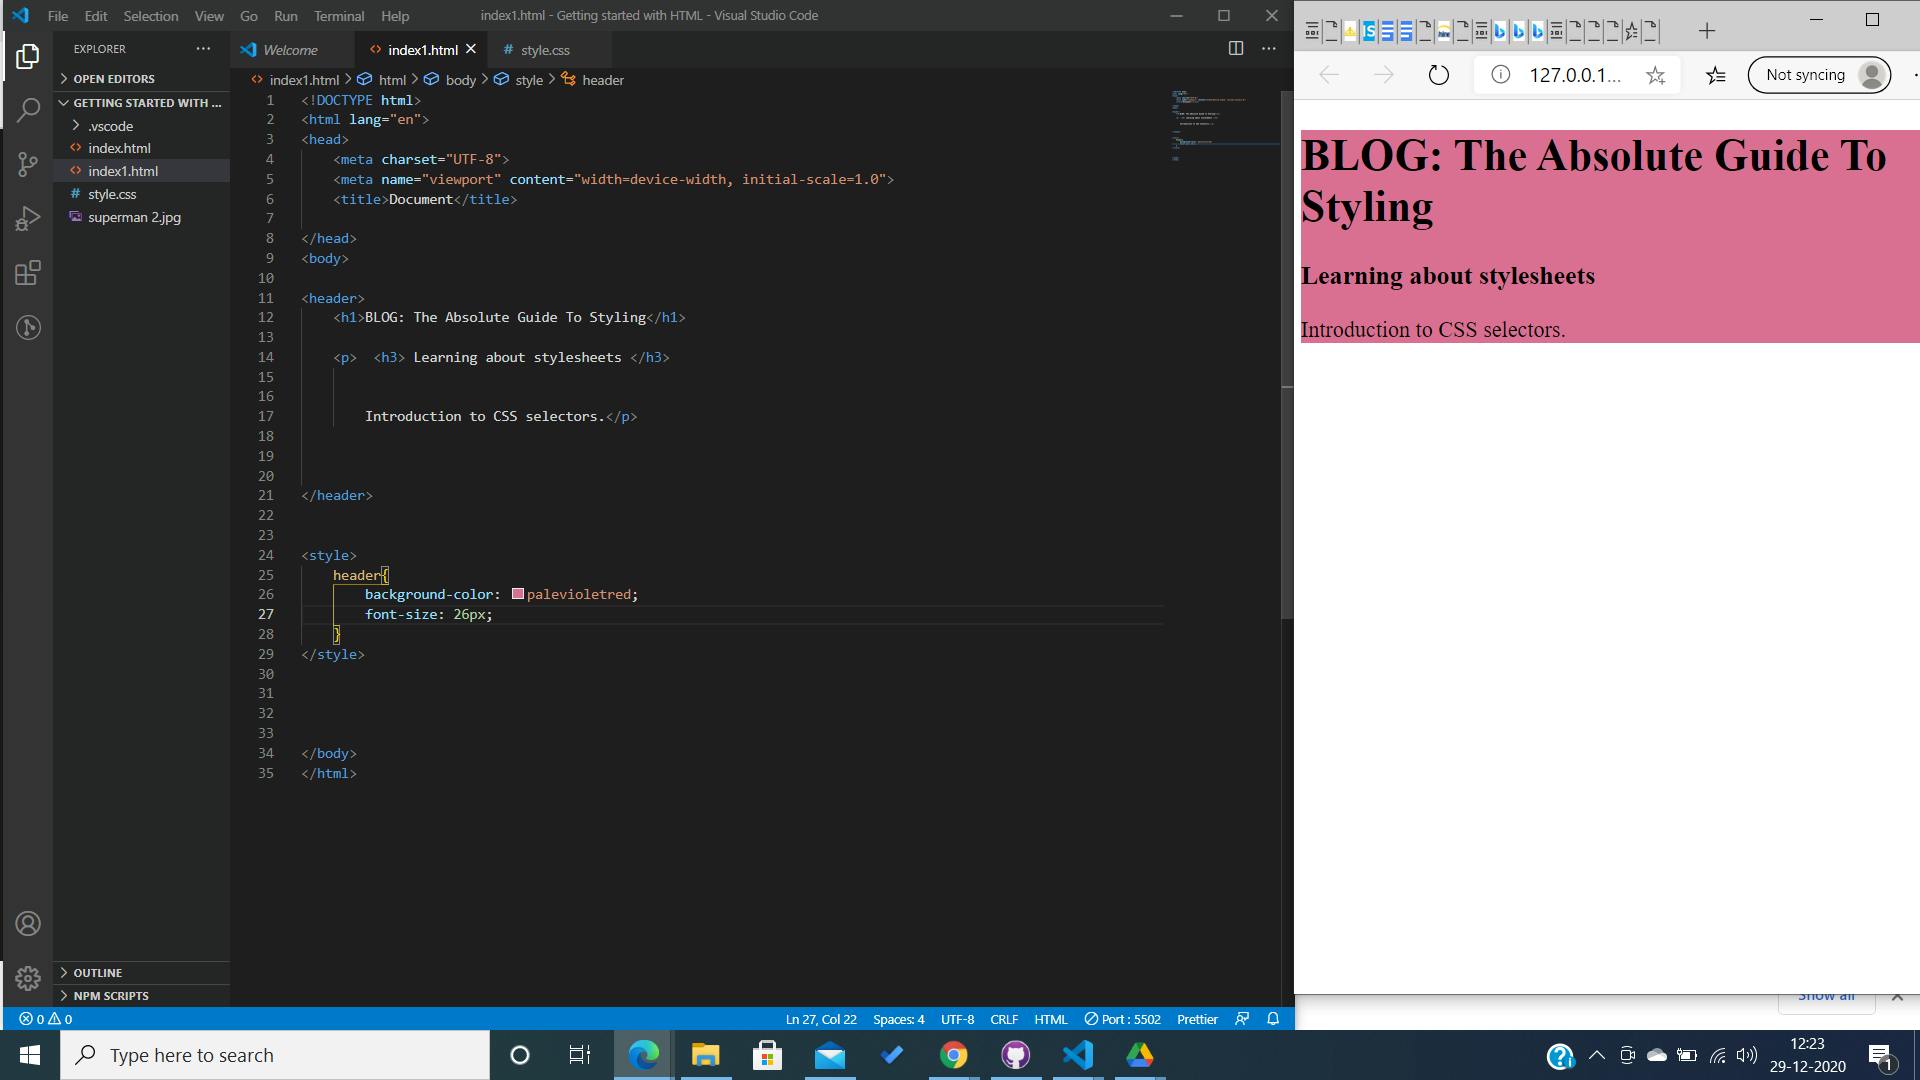
In the above picture, we just wanted to style the header element so we directly selected the header element and added the values to the properties we want to manipulate, in this case - the background color and the font -size. This is called the element selector. Where we directly select the element we want to style and style it. Let us take a few more examples.
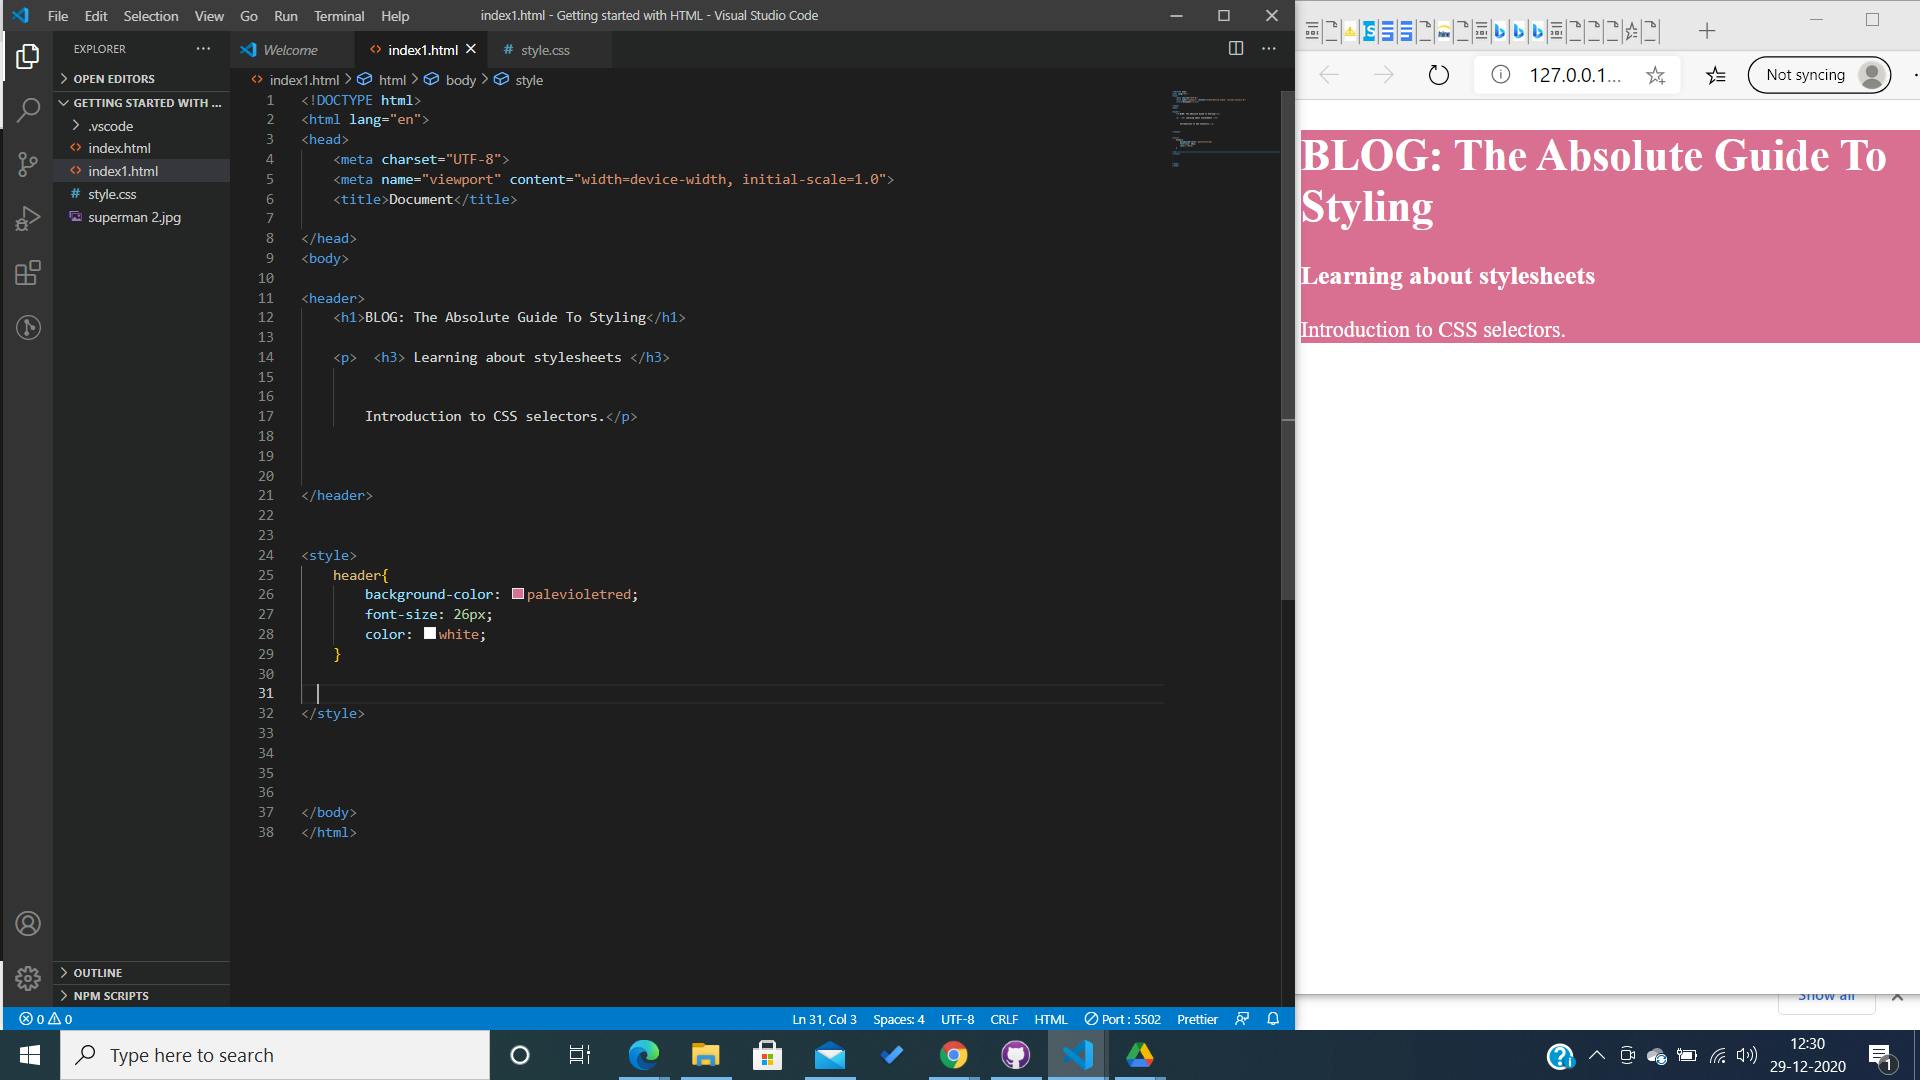
We added another property to the header element. We set the color to white. Which will set all the font color inside the header to white, as you can see in the picture. Pretty cool, right? Now look at this example:
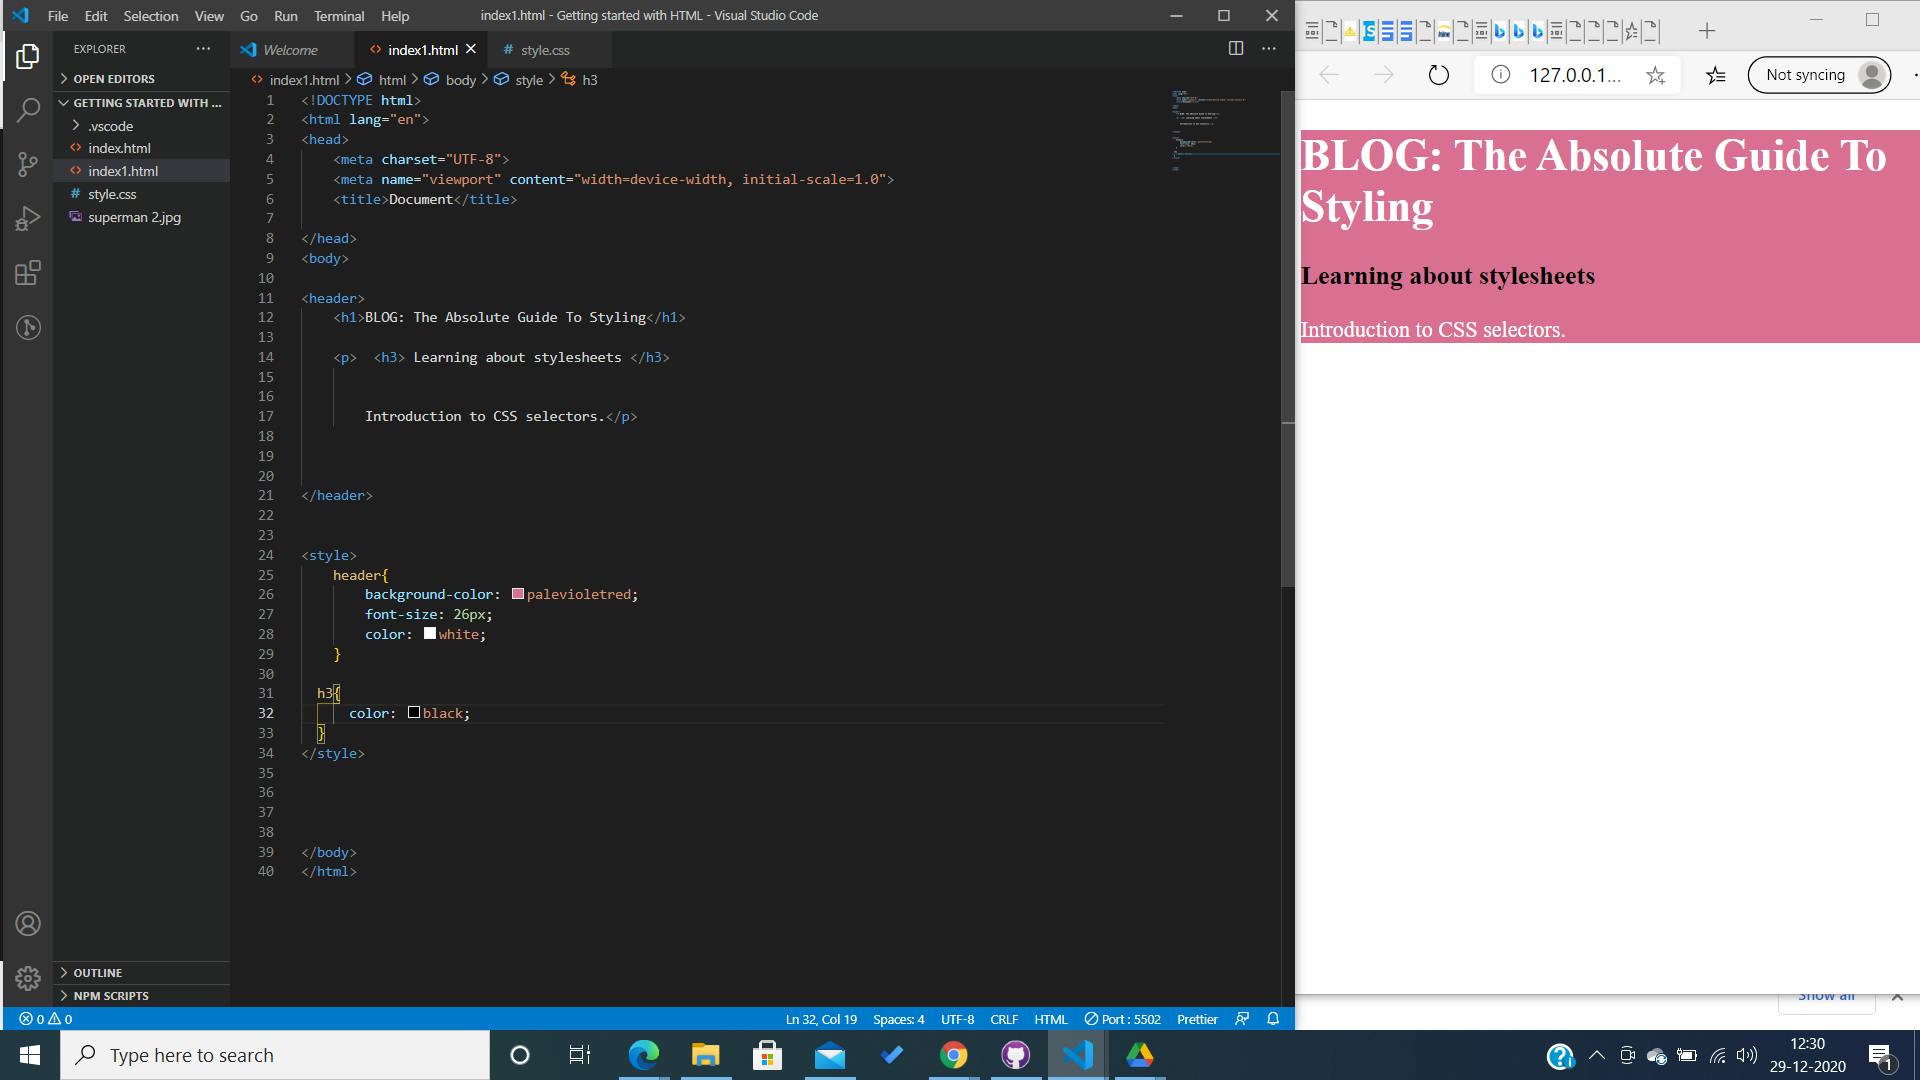
CSS stands for Cascading Style Sheets. The thing about styling is that every time we assign a new value to a property, the initial property and value pair gets overridden. Take the above example :
- Initially, the header color was set to white.
- The header element contained the h3 element and initially the h3 color was set to white too.
- But, when we set a new value to the color property of the element h3, the previous white color was overridden and the new color black was applied.
1. Element Selectors :
Syntax :
elemment {
property : values;
property : values;
}

Where Elements are : <p></p> , <nav></nav> , <header></header> , <h1></h1> and so on.
2. Class Selectors.
Before we get into theoretical concepts. Let us take an example first for a clear overview of this type of selectors.
We added three paragraphs. Moreover, to style them, we used the element selector and gave a background-color of brown, and increased the font-size of the paragraph elements. The element selector grabbed all the paragraph elements of the document and manipulated their styles. What is we wanted one paragraph to have a different color than brown? Worry, no more! This is where the class selectors come to our rescue. Take a look at the example, below.

In this example, we wanted a separate Background-color for the second paragraph. So , we assigned a class name to it: "para2". Later, we used that class as an element selector and manipulate the style.
<p> This is a tech blog.</p>
<p class = "  name" > This is a tech blog on web dev. </p>
<p> Introduction to selectors. </p>

to style :
<style>
.name {
property : values;
property : values ;
}

</style>
Few things to remember about the class selector:
- We can assign any class name to the elements, it mostly depends on the convention for a more readable code.
- An element can have more than one class name.
- With new values to the same properties, the value of the previous property is overridden.
- Whenever we access a class element to style, we use a dot as a prefix to tell the browser, that it is a class selector.
.className{
property : values ;
color : red;
background-color : white;
}
3. ID Selector.
The usage of Id selector is just like the class selector, except the ID selector has a constrain. Unlike, Class selector, an element can have only one ID selector. The application is pretty much similar to that of class selectors or element selectors. Let us take an example, to see how it is done.
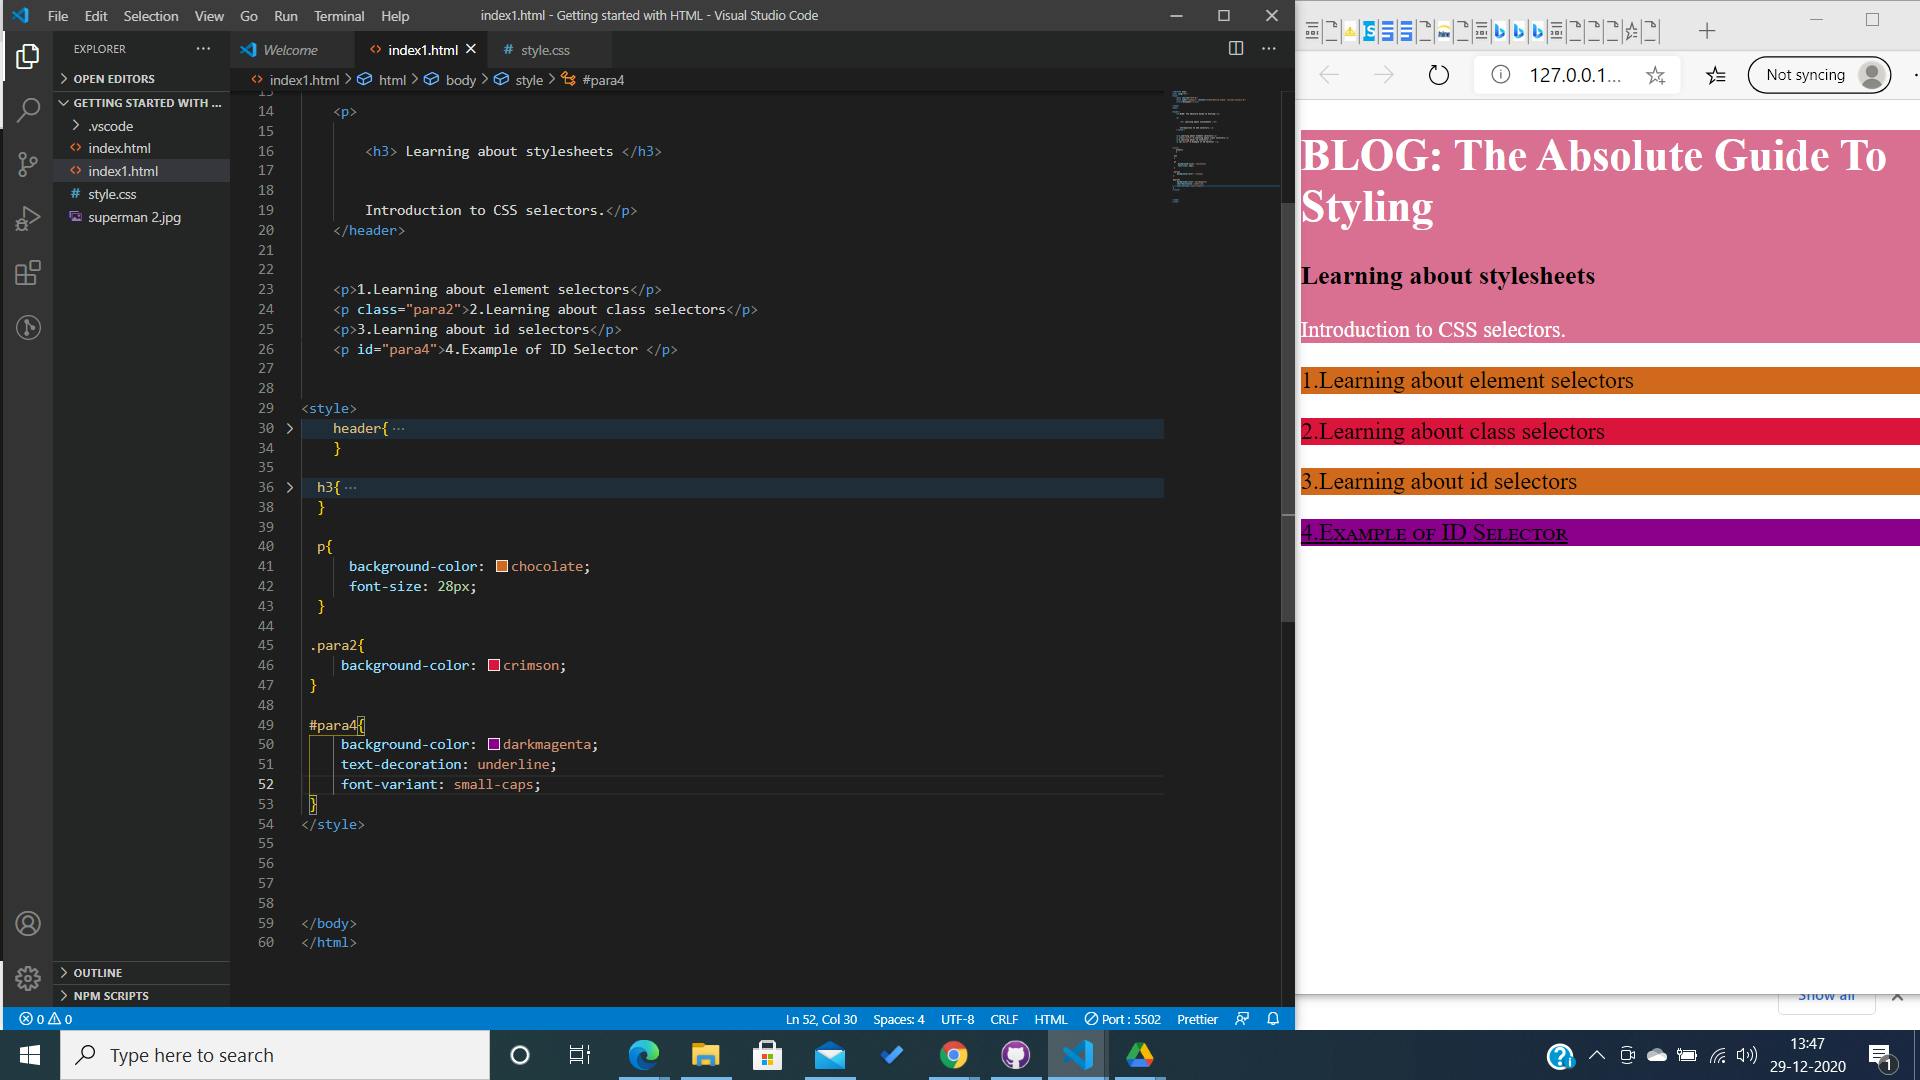 While using the ID Selector to style, we use a prefix - "#" to access the element and then style it accordingly.
In, the above example we added an id to the 4th paragraph. The name of the id can be anything, the name doesn't have any other purpose but for accessing the element to be styled, and of course a conventional name would make the code more readable. Syntax :
<p> This is a tech blog.</p>
<p class = "  name" > This is a tech blog on web dev. </p>
<p> Introduction to selectors. </p>
<p id = "name"> Example of ID Selector </p>

to style :
<style>
#name {
property : values;
property : values ;
}

</style>

Can you guess, the output of this code?
Yes, you are right, the "#" tells the browser to access the id element and assign the styles to that element.
Whereas, a ".name" would have told the browser to access the element with class = "name"
Few Points to remember about ID Selectors.
- An element can have only one id, unlike class.
- While using id selectors, we add a "#" prefix to access the element with the id.
- Assigning new values to properties will override the previos value of the same property, just like any other selectors. Why? It is explained above. Can you find out why?
Wrapping Up.
- Selectors are used to accessing the element which we want to style or manipulate the presentation.
- Assigning new values to properties will override the previous value of the same property
- While working with class selectors we use a dot as a prefix to tell the browser to we are accessing an element with a class.
- While working with Id selectors we use a hashtag as a prefix to tell the browser we are accessing an element with an id.
- An Element can have more than one class, but only one id.
Let's get to styling our webpages? Shall We? Thanks for reading. Hope this was helpful